Sign in to your shop
- If you’re setting up the owner account, open your activation link and choose a password.
- On the sign-in page, enter your Shop workspace, Email address, and Password. Your shop owner can tell you which workspace to use.
Add your first product
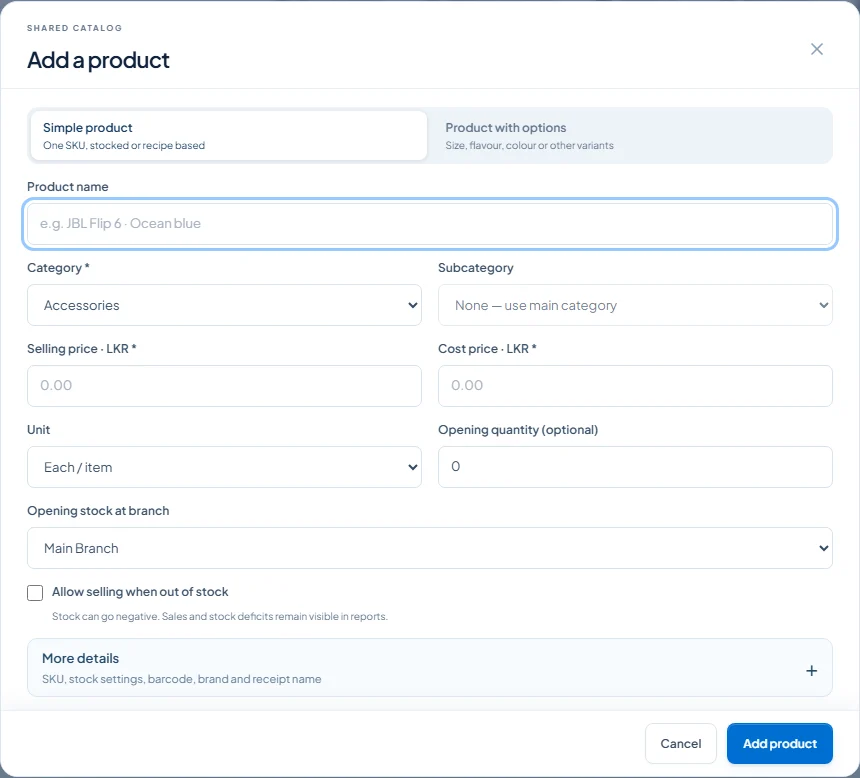
- Open Products, choose Add a product, and select Simple product for an item with one SKU.
- Enter the product name, category, selling price, cost price, and unit. For stock you already have, enter the Opening quantity and select the branch if prompted.
- To use an existing barcode, open More details and enter it under Primary Barcode. Click Add product to save.
Open a register shift
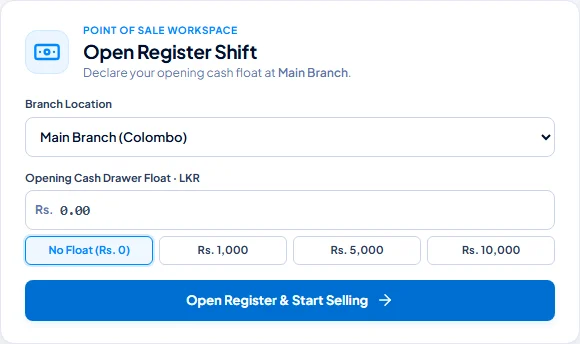
- Open Register and choose your branch. If the screen lists multiple registers, select the till you’re working at.
- Count the cash already in the drawer and enter it under Opening Cash Drawer Float. Choose Open Register & Start Selling.
Make your first sale
- Scan the barcode or search for the product by name. Add it to the bill and check the quantity and total.
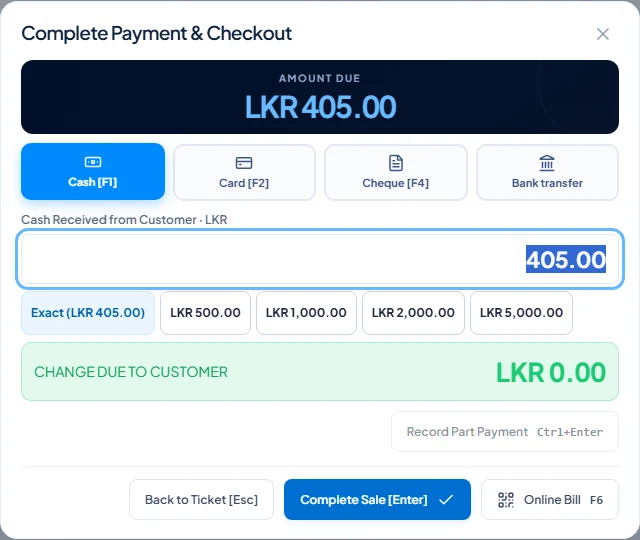
- On mobile, open View Bill & Pay. Choose Charge, then select a payment method. For cash, enter the amount received and check the change due.
- Select Complete Sale. To find the bill again, open Sales and select the completed sale.
Close your shift
- In Register, choose Close shift when you’ve finished selling.
- Count the cash in the drawer, enter the actual count, and review any difference before confirming. The Z-Report records the shift totals.
Connect a printer and print labels
- On the Windows till, install your printer’s Windows driver and download Device Service. Open Device Center, enter the device key from your shop’s setup, and select Connect this PC.
- In NextLevel POS, open Hardware → Connect a printer. Select the printer and choose its role. For a label printer, choose Product barcodes / labels and set the label size to match the roll in Windows Printing Preferences. Measure the sticker itself, excluding the gap. Choose Save printer.
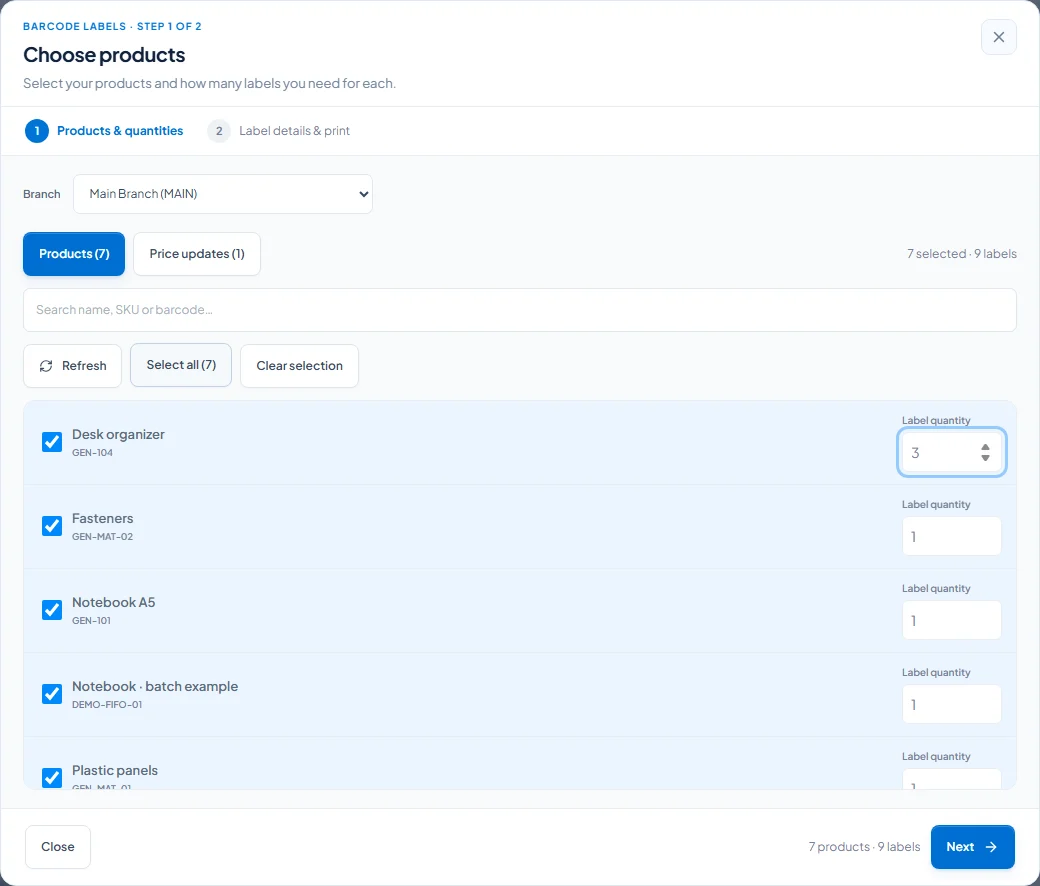
- Open Products → Print Labels, select the products, and enter the Label quantity for each. In Design & print, choose the connected printer and check the total on the Send button. Print and scan one test label before a full batch.